Drywall damage is the most common repair we handle, and it is also the one most likely to look bad when it is rushed. A proper drywall repair disappears completely: no bump, no flashing, no faint outline that catches the afternoon light. The difference between an invisible fix and an obvious patch is not talent, it is prep, the right technique for the specific damage, and matching the texture and paint. Here is how the common repairs actually work, from a simple nail pop to a water-damaged ceiling.
Nail pops and screw pops
That little round crack with a bump in the center is a fastener backing out of the stud. It usually happens as framing lumber dries and shifts over the first few years, and our humidity swings speed it along. The wrong fix is to hammer the nail back in, because it will pop again. Instead, drive a drywall screw an inch or two above or below the popped fastener to grab the stud, then either remove or re-set the original and dimple both slightly below the surface. Fill with two or three thin coats of joint compound, sand smooth, spot-prime, and paint. Thin coats that dry fully beat one thick glob every time.
Hairline cracks
Fine cracks love to show up at the upper corners of doors and windows and along old seams. Most come from normal settling and seasonal movement, and the fix depends on whether the crack is stable or keeps coming back. For a typical stable crack, widen it slightly, embed mesh or paper tape in compound so the repair spans the gap, then feather three coats wider than the last. A crack that reopens season after season is telling you something structural is moving, and covering it again will not hold. That one is worth having someone look at rather than re-patching on repeat.
Holes: patch, backer, or a new panel
The size of the hole decides the method.
Small holes
Nail holes, screw holes, and spots left by wall anchors just need lightweight spackle, a quick sand, and paint. This is the most beginner-friendly repair there is.
Medium holes
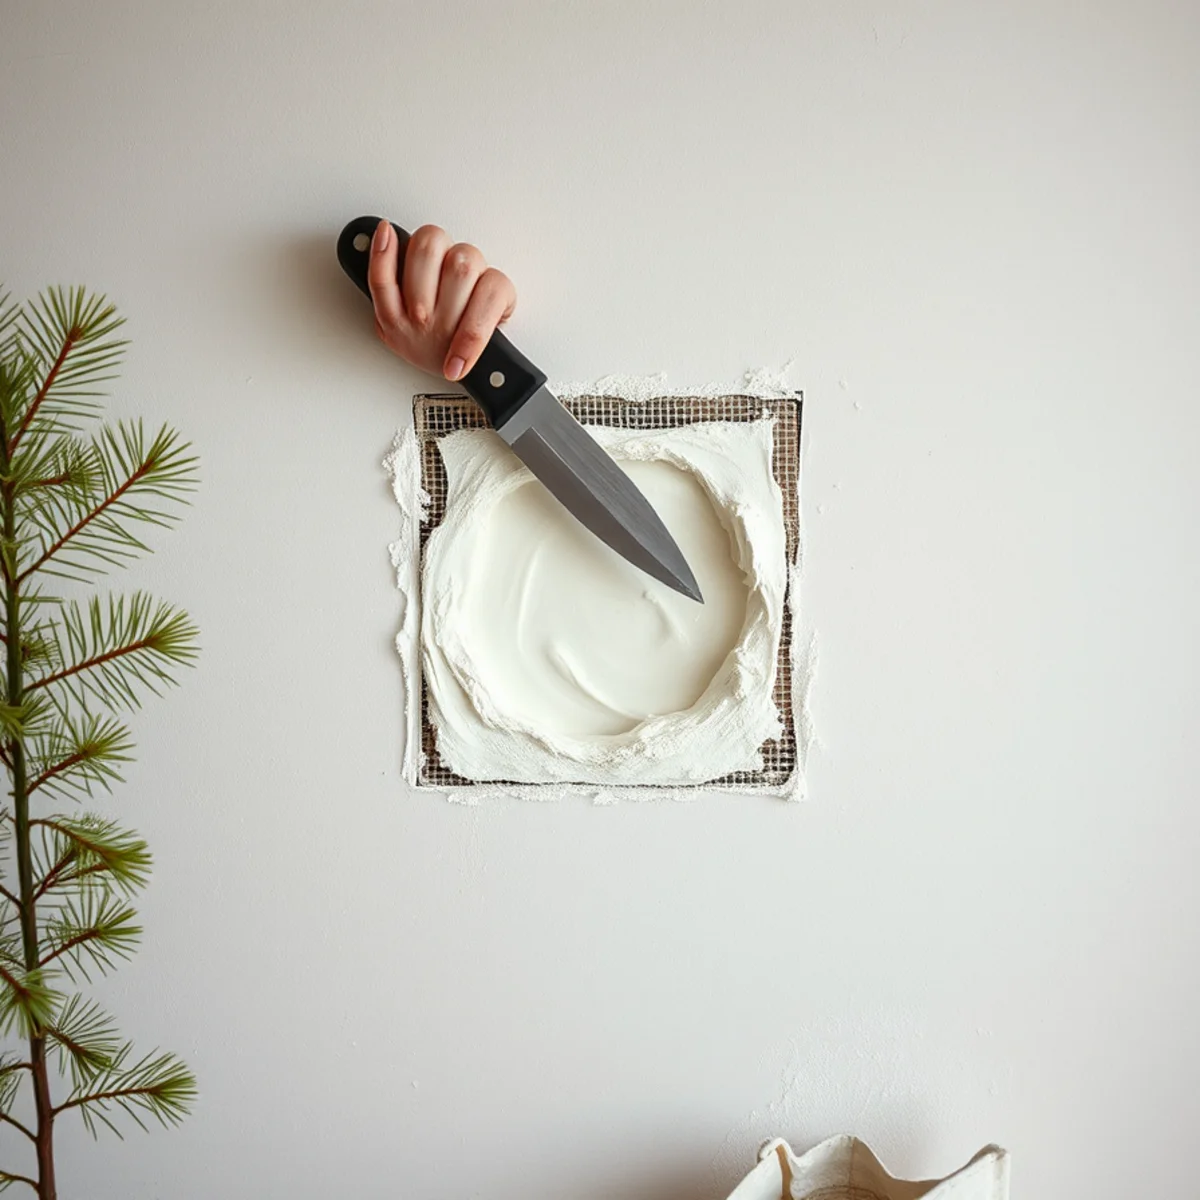
Anything from a doorknob dent to about fist size calls for a patch with backing. A self-adhesive mesh patch works for the smaller ones. For a cleaner result we often cut a square of new drywall, trim the hole to match, and use a paper-backed patch so the finished surface stays flat and strong.
Large holes
Once a hole is bigger than your hand, patch kits stop being reliable. We cut the opening back to a clean rectangle, add wood backing behind the edges, screw in a new piece of drywall of the same thickness, then tape and mud the seams in coats. Done right, the new section becomes part of the wall with no soft spot or visible border.
Dinged corners and cracked corner bead
Outside corners take the abuse in a busy house, from luggage, vacuum cleaners, and furniture on the move. Under the mud on most corners sits a strip of corner bead, and when it gets dented the metal or vinyl stays bent while the compound over it cracks and flakes away. You cannot just fill the divot, because the damaged bead will telegraph right back through. We cut out the crushed section, fasten in a fresh piece of bead, and rebuild the profile in thin coats so the corner reads straight and crisp from both walls. Paper-faced bead gives the cleanest edge on interior work, while metal bead holds up better in high-traffic spots that get knocked often.
Matching texture: knockdown and orange peel
Most homes on 30A have a sprayed texture rather than a smooth finish. Orange peel looks like the skin of its namesake, and knockdown is sprayed heavier then flattened with a wide knife once it starts to set. Matching either is the part that trips up most do-it-yourself repairs, because the spray pattern, the mix consistency, and the timing all have to line up with the surrounding wall. We test the pattern on a scrap of cardboard first, dial it in, then apply and knock it down at the right moment. A repair can be structurally perfect and still stand out if the texture is off, so this step earns its keep.
Water-damaged drywall: fix the leak first
The single biggest mistake we get called to redo is water-damaged drywall that was repaired before the leak was fixed. Find and stop the source first, every time. On coastal homes that source is usually a roof or flashing leak, a plumbing connection, an overflowing AC condensate line, or a window that lets humid air and rain wick in. Let the area dry completely, and confirm it with a moisture meter rather than a guess. Any drywall that is stained, soft, or crumbling has to be cut out, not dried and painted, and if mold is present it has to be removed properly. A common culprit behind a bathroom is failing shower grout and caulk, which is where our tile and flooring repair work and the drywall fix go hand in hand. If you want the full rundown on where moisture hides, our guide to humidity and mold trouble spots walks through it.
Prime before you paint
Fresh joint compound is porous and drinks up paint differently than the wall around it, so an unprimed patch flashes as a dull spot even after two coats of color. Always spot-prime the repair, and over a water stain use a stain-blocking primer so the mark does not bleed through. For the finish coat, paint corner to corner or at least the full wall rather than dabbing just the patch, so the sheen stays uniform. If the room needs freshening anyway, folding the repair into a full repaint through our interior and exterior painting service is the surest way to make it vanish.
When to DIY and when to call a pro
Small holes, wall anchors, and the occasional nail pop are fair game for a confident homeowner with a putty knife and a little patience. It is worth calling a pro when the repair involves any of these:
- A hole bigger than your hand, or any repair on a ceiling
- Texture that has to match existing orange peel or knockdown
- Water damage, staining, or a soft and spongy surface
- A high-end finish where the paint sheen has to match exactly
Those are the jobs where the finish either disappears or announces itself, and where professional drywall repair earns its cost. The bar is higher in the upscale homes around WaterColor and the newer builds out in Freeport, where a patched wall has to match a specific texture and sheen with no visible seam. When a wall has to look untouched, that last 10 percent is the whole job.
Have a wall or ceiling that needs to look like nothing ever happened? Call 30A Home Fixology at (877) 753-5021 for a free estimate. We patch, texture-match, prime, and repaint so the repair is impossible to find.